TL;DR
For everyone in a hurry. Here are the keyboard shortcuts covered in this article:
| Action | Keyboard Shortcut |
| Move forwards | Ctrl+f (letter) / Alt+f (word) |
| Move backwards | Ctrl+b (letter) / Alt+b (word) |
| Move to the start of the line | Ctrl+a |
| Move to the end of the line | Ctrl+e |
| Clear the screen | Ctrl+l (Lowercase L) |
| Clear the line towards the beginning | Ctrl+u |
| Clear the line towards the end | Ctrl+k |
| Modify current command and run it | Ctrl+x+e |
| Pause | Ctrl+s |
| Resume | Ctrl+q |
| Previous command in history | Ctrl+p |
| Next command in history | Ctrl+n |
| Reverse search | Ctrl+r |
Terminal & command line tricks

Since the dawn of time, mankind has struggled with the unnecessary hand movement during IT tasks. No more! Here are 15 keyboard shortcuts, that make you as fast and agile as a ninja!
To avoid using the mouse when working in the terminal is a good skill to have when working with Linux. However, using arrow keys excessively involves lots of unnecessary movement from the alphabetical keys to the arrow keys and can be just as straining as using a mouse. Not all Linux users know that a lot of actions can be done from the keyboard without moving away from the alphabetic keys.
In a lot of cases, the ninja way of keyboard shortcuts is much faster than the “normal” way. See this comparison about clearing the terminal:
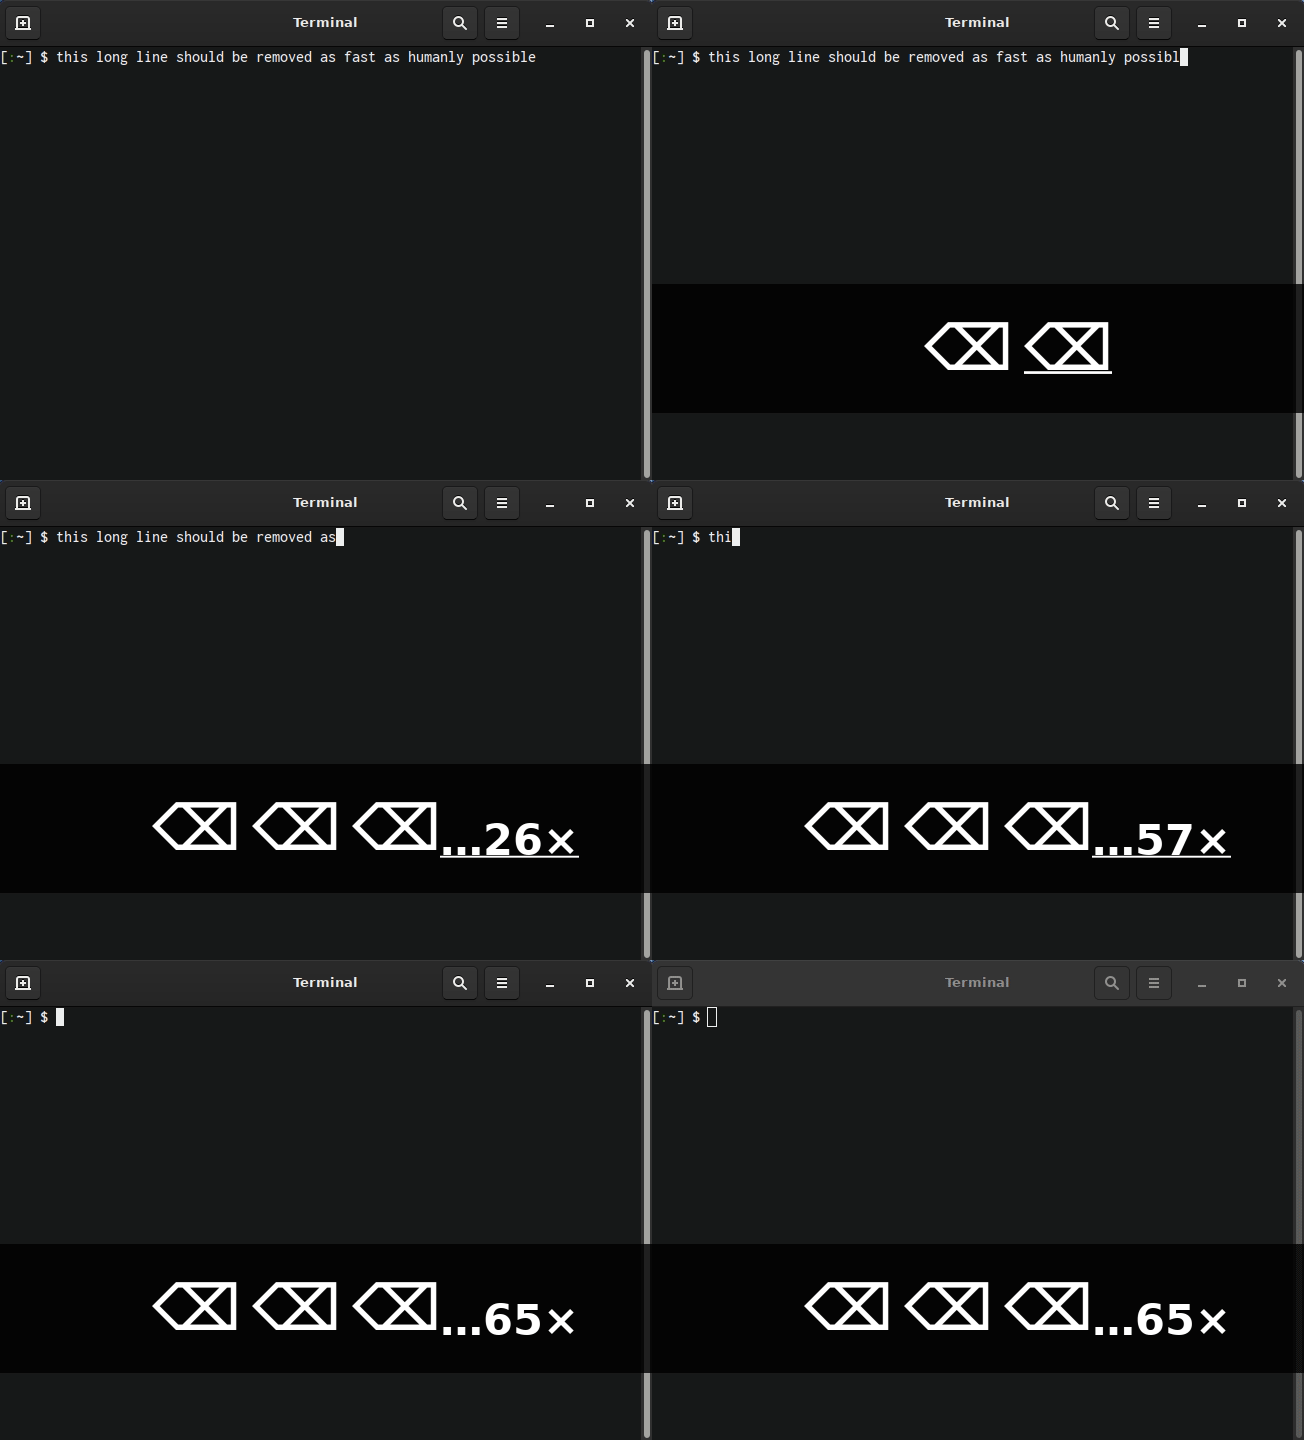
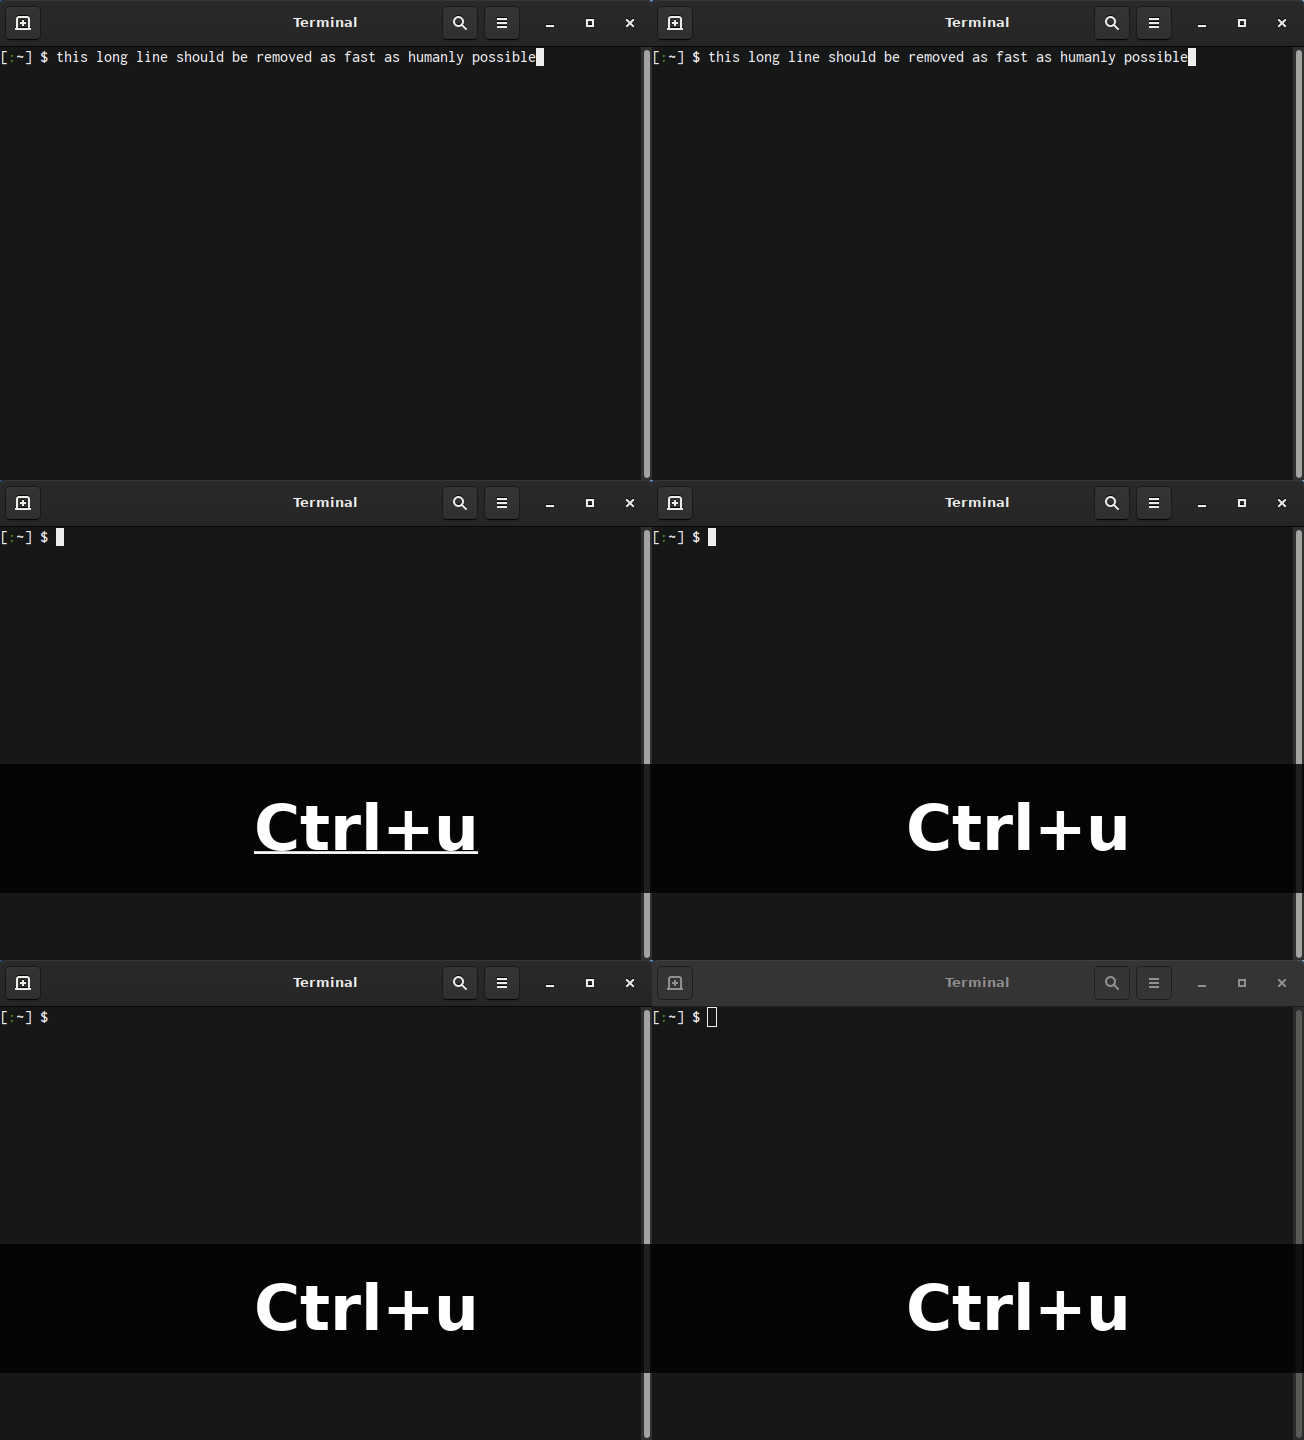
Okay, that was brutal. Are you convinced that the ninja way is the right way? Good. Let’s start!
Moving around the command line
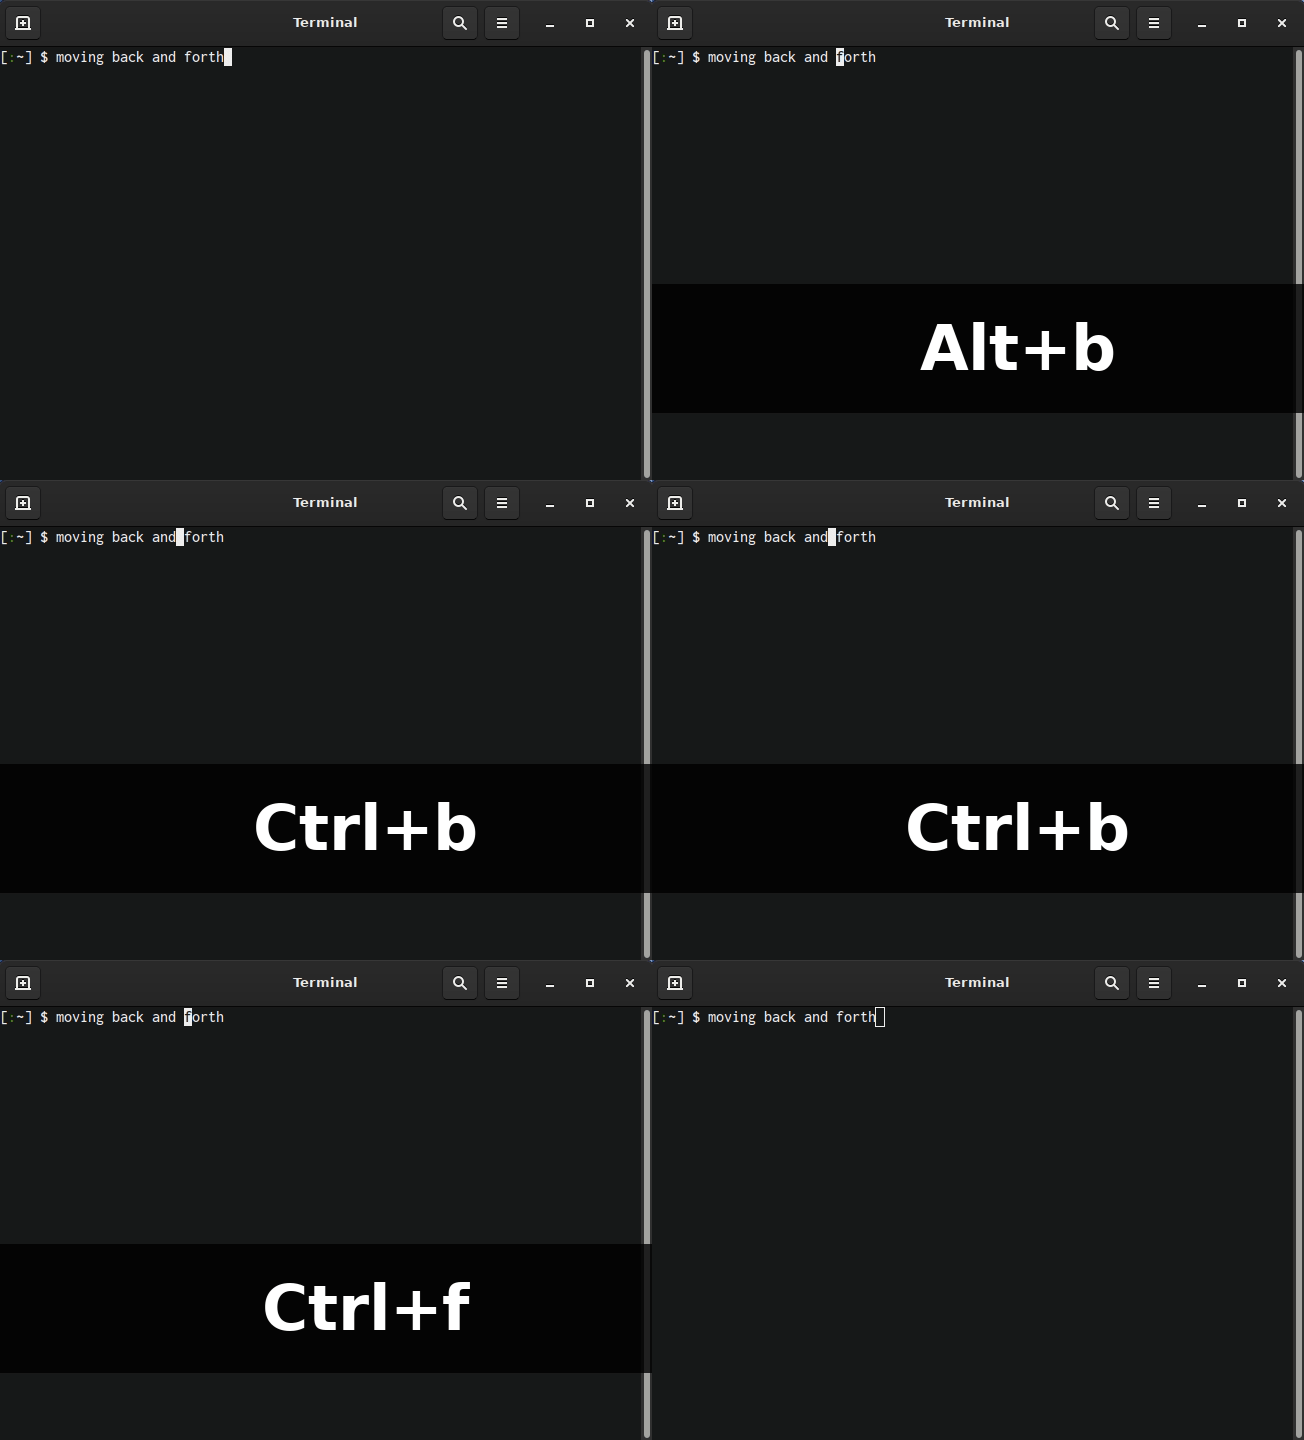
Instead of using the arrow keys, or even mouse, keyboard shortcuts can be used to move the cursor back and forth the prompt. In order to move back and forth, use Ctrl+b (b as in backwards) and Ctrl+f (f as in forwards). It may be quicker to move one word at a time instead of one character at a time. In such a situation, Alt+b and Alt+f can be used.
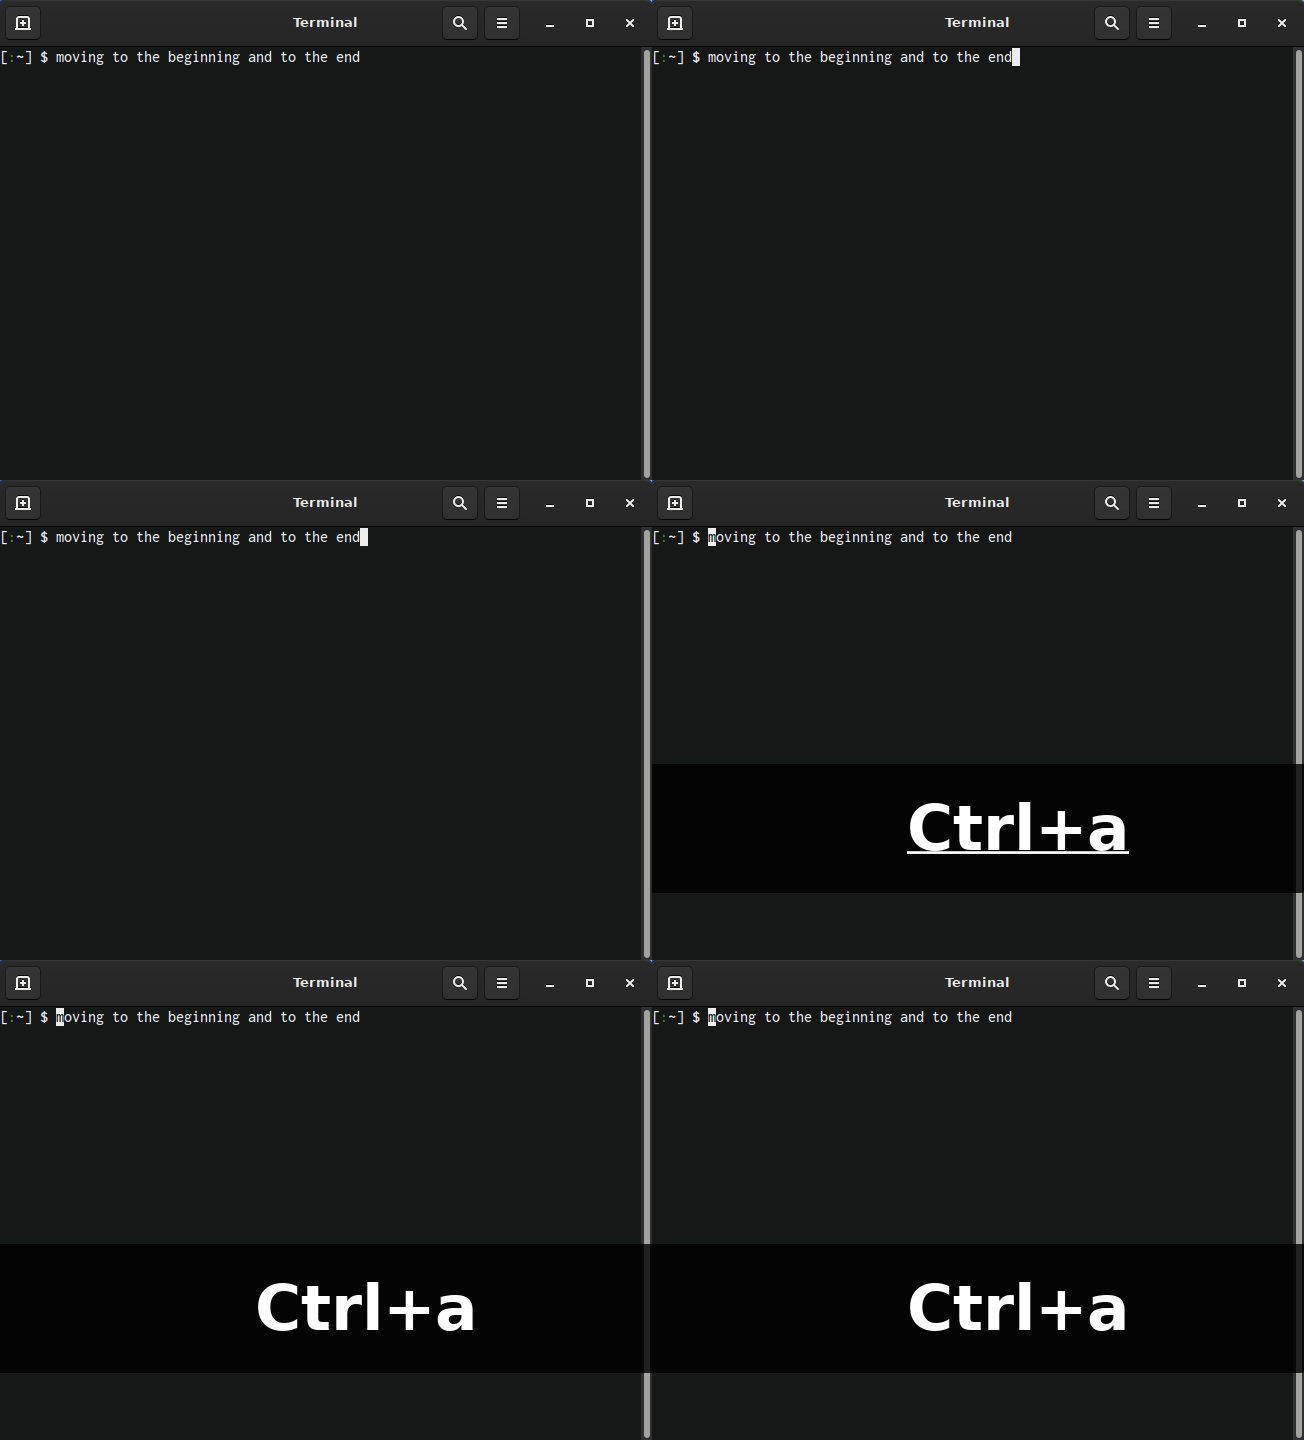
Moving to the start or the end of the line is often needed, when modifying the command on the prompt. Moving the cursor to the start and the end of the line can be done as follows (respectively): Ctrl+a and Ctrl+e. The moving to the end of a line is easy to remember, because it is “e as in end”. However, we a have been unable to come up with a memory rule for the Ctrl+a. Please suggest a memory rule in the comment field below!
How to clear terminal output?
There are situations, where it is beneficial to remove unneeded output from the terminal. With Ctrl+l (lowercase L), the output can be cleared easily without affecting the line with the command. This is especially useful, if clarity is needed in a presentation, or if someone is spying over your shoulder.
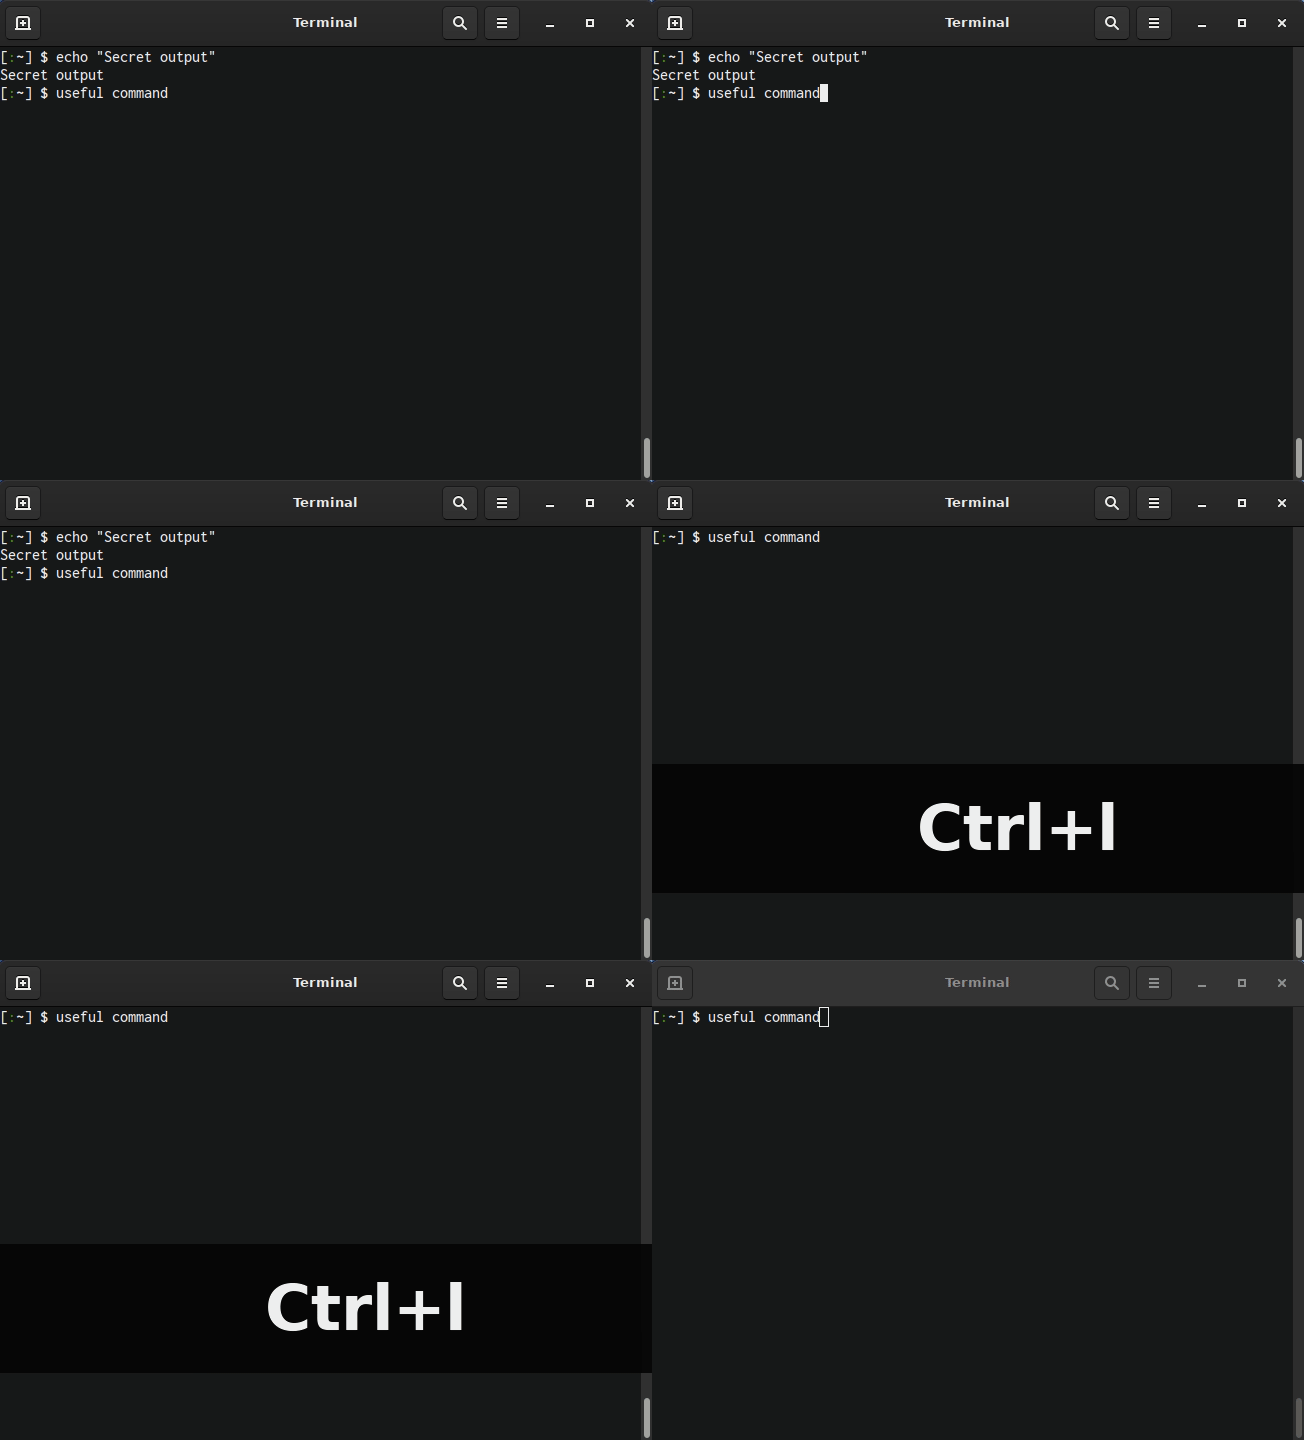
For historical reasons, the command prompt clearing is not that easy. There are keyboard shortcuts Ctrl+u to clear towards the beginning of the line and Ctrl+k to clear towards the end of the line. A fearless terminal ninja can use combos to clear the prompt: Ctrl+a, Ctrl+k and Ctrl+e, Ctrl+u both clear the whole line. Also Ctrl+c works, but it has a side effect of changing the exit code of the last command (accessible with $?) to 130. Please see an example of command line clearing in the opening chapter.
Start and stop the output flow in terminal
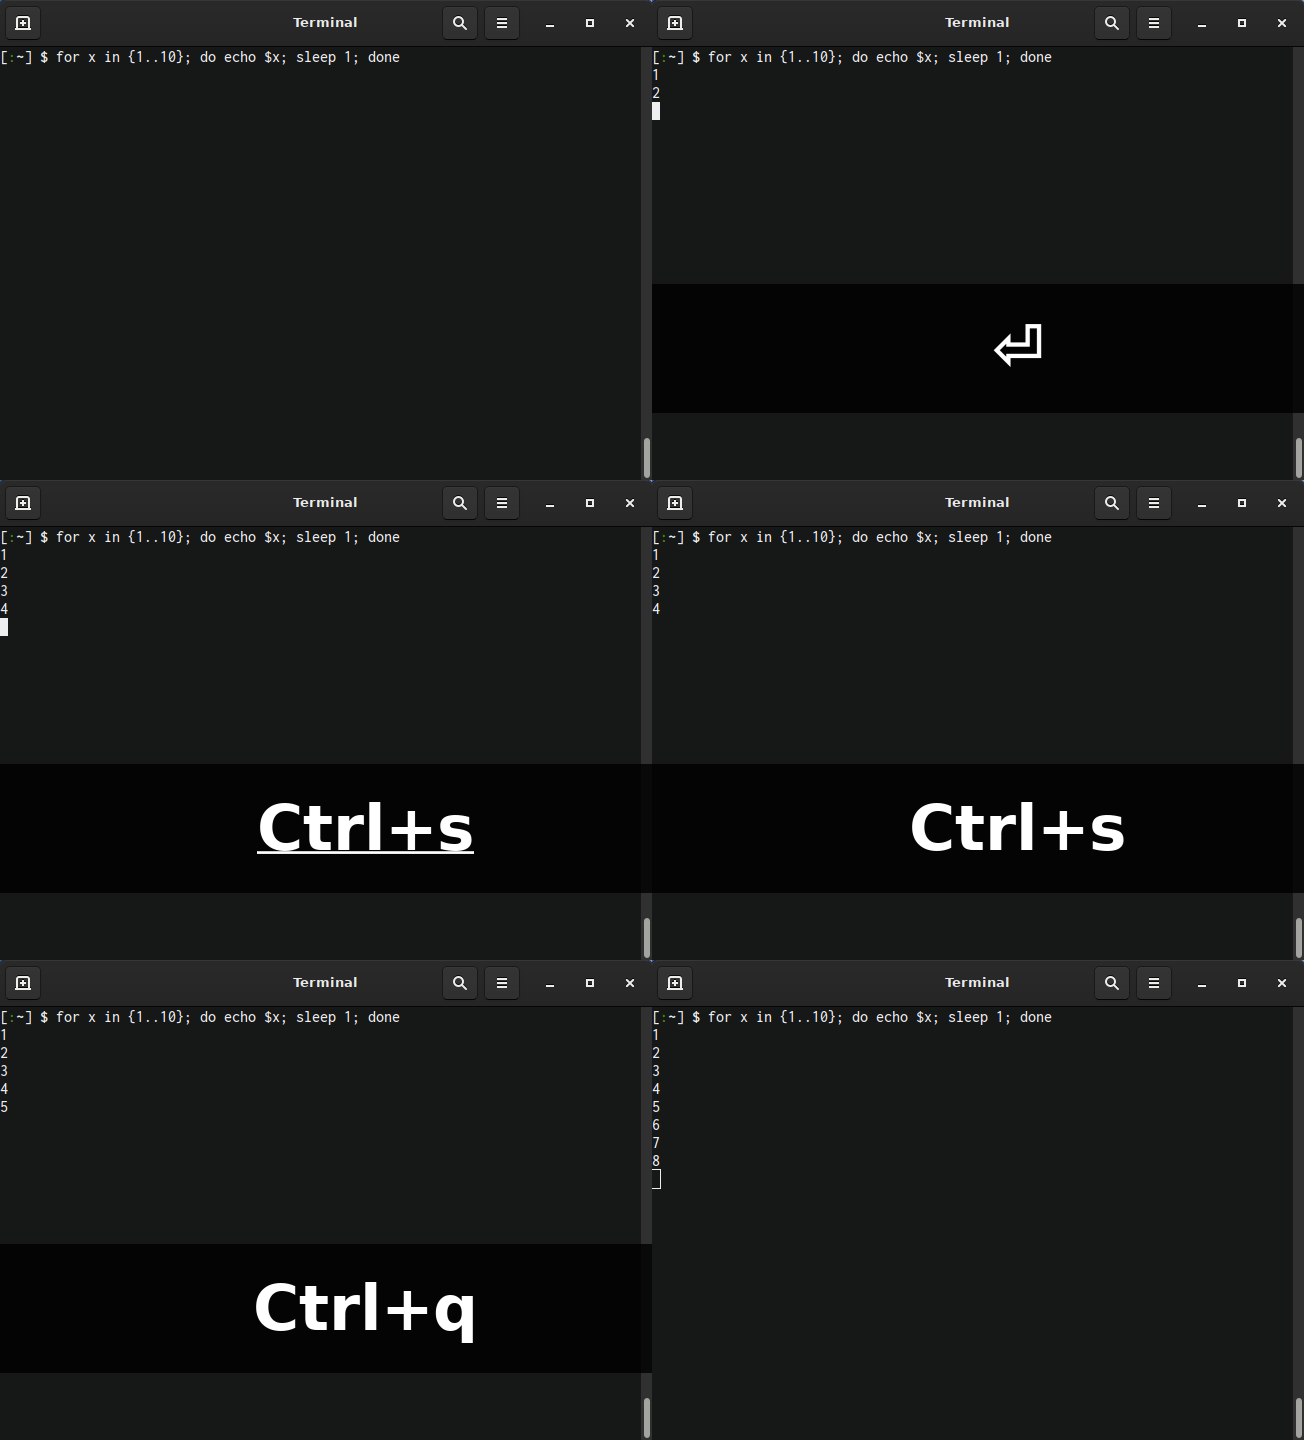
Sometimes the output flows too quickly even for a ninja. Luckily, the output can be paused with Ctrl+s and continued with Ctrl+q. Please keep in mind, that this does not have the power to pause running commands, but it will not start new processes. Therefore, it can be used to pause bash loops.
Navigating bash history
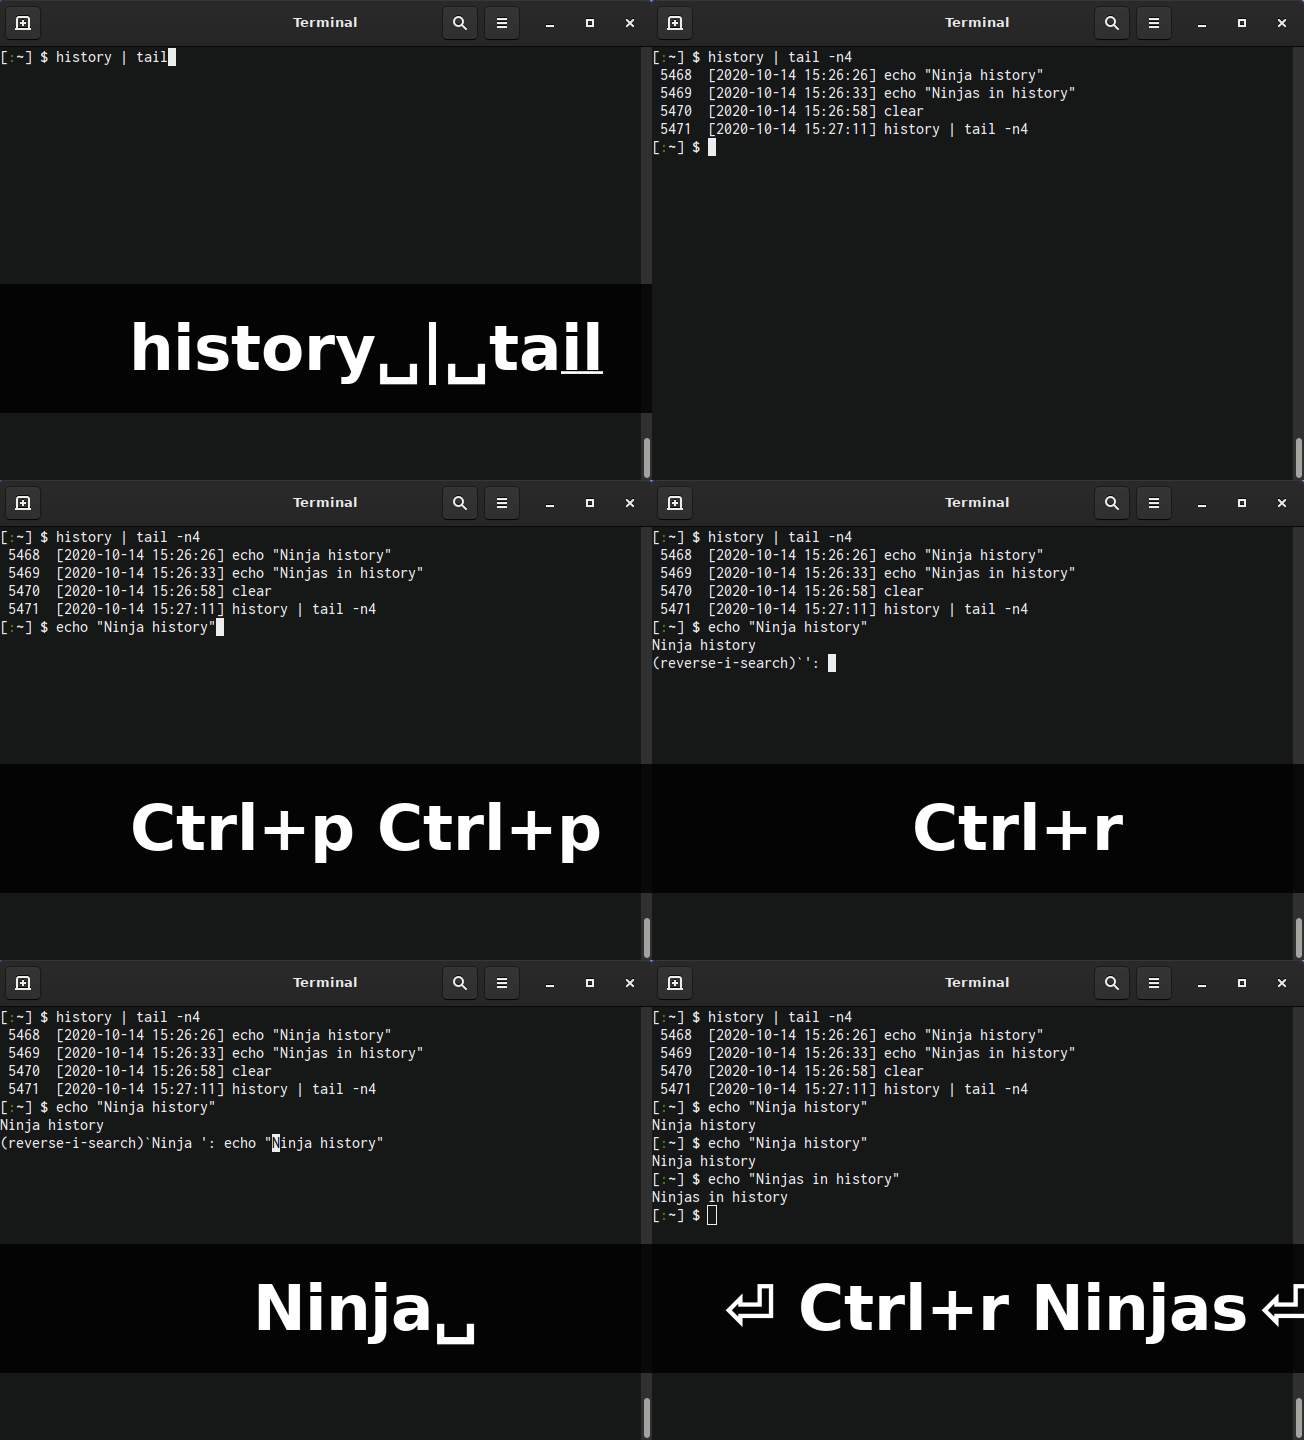
There are times when it comes handy to be able to run commands from the history. Traditionally, this is achieved by pressing arrow up and arrow down keys. However, it is possible to search history with Ctrl+p (previous) and Ctrl+n (next) keys.
If the command was run a long time ago, it may not be convenient to search it with next and previous keys. Instead, pressing Ctrl+r starts a “reverse-i-search”, to which the user should input a part of the command wanted and it returns the first command from the history, which matches the user input.
Towards ninja mastery
Congratulations! You are now one step closer to becoming a true terminal ninja! In order to advance with the ninja path you have chosen, please continue to read our comprehensive guide to vim editor.


