
OBS Studio is a popular recording and streaming program. It is available across all major platforms, and is available as a snap and a flatpak. It has a very low learning curve and it’s also open-source, which makes us very happy at linuxnatives.net!
This article starts an ongoing series focusing on OBS. Following this guide you’ll learn how to record your desktop and webcam simultaneously with OBS.
There’s a lot of functionality out-of-the-box which opens a very wide variety of recording and streaming related possibilities. The program can be extended and customized with plugins, themes and scripts, making OBS Studio even more versatile.
This guide was made on Ubuntu 20.04 running OBS Studio 26.0.0 from the main Ubuntu repository. Please be advised that the user interface experience may vary on your operating system and computer setup.
Configuring OBS Studio using the setup wizard
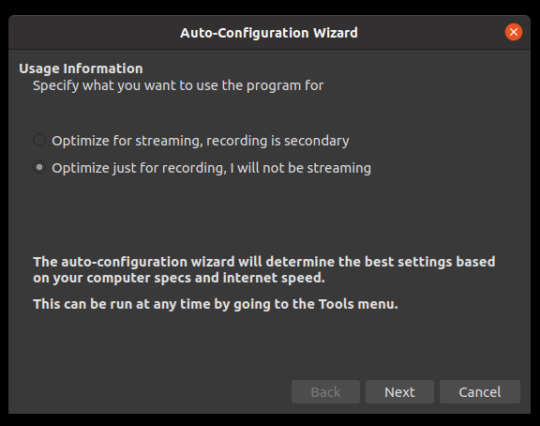
It is highly recommended for first time users to follow the setup wizard. The wizard will pop up when running OBS for the first time. Once the wizard has been launched, choose to optimize for recording and follow the steps. OBS Studio will test how much your computer can handle. These settings can always be changed later, and the wizard can also be re-run from Tools – Auto-Configuration Wizard.
Using OBS Studio to record tutorials & screen capture presentations
Ever wondered how all those tutorial videos on YouTube are made?
The ones in which someone is showing what they do on their screen and their face is in some corner of the video?
Well maybe not all, but definitely some have been made using OBS.
With this setup we can easily create how-to / tutorial videos. What we want to achieve is:
- Capture output from a designated window or screen
- Capture video stream from a webcam (or another video input device)
- Capture sound from the computer microphone or input
…and have all these sources combined and recorded into a single video file.
How to Capture the output of a desktop window
There’s always a scene defined in OBS Studio and it can’t be deleted. In this series of OBS Studio guides, we will cover using scenes later on.
Let’s start by adding a source. Let’s go item by item, and begin with capturing a designated window.
Adding sources to OBS Studio is relatively easy. A stream from an application window can be captured by:
- Clicking the plus sign under Sources and choosing Window Capture.
- Choosing your desired window and making sure Capture Cursor is checked.
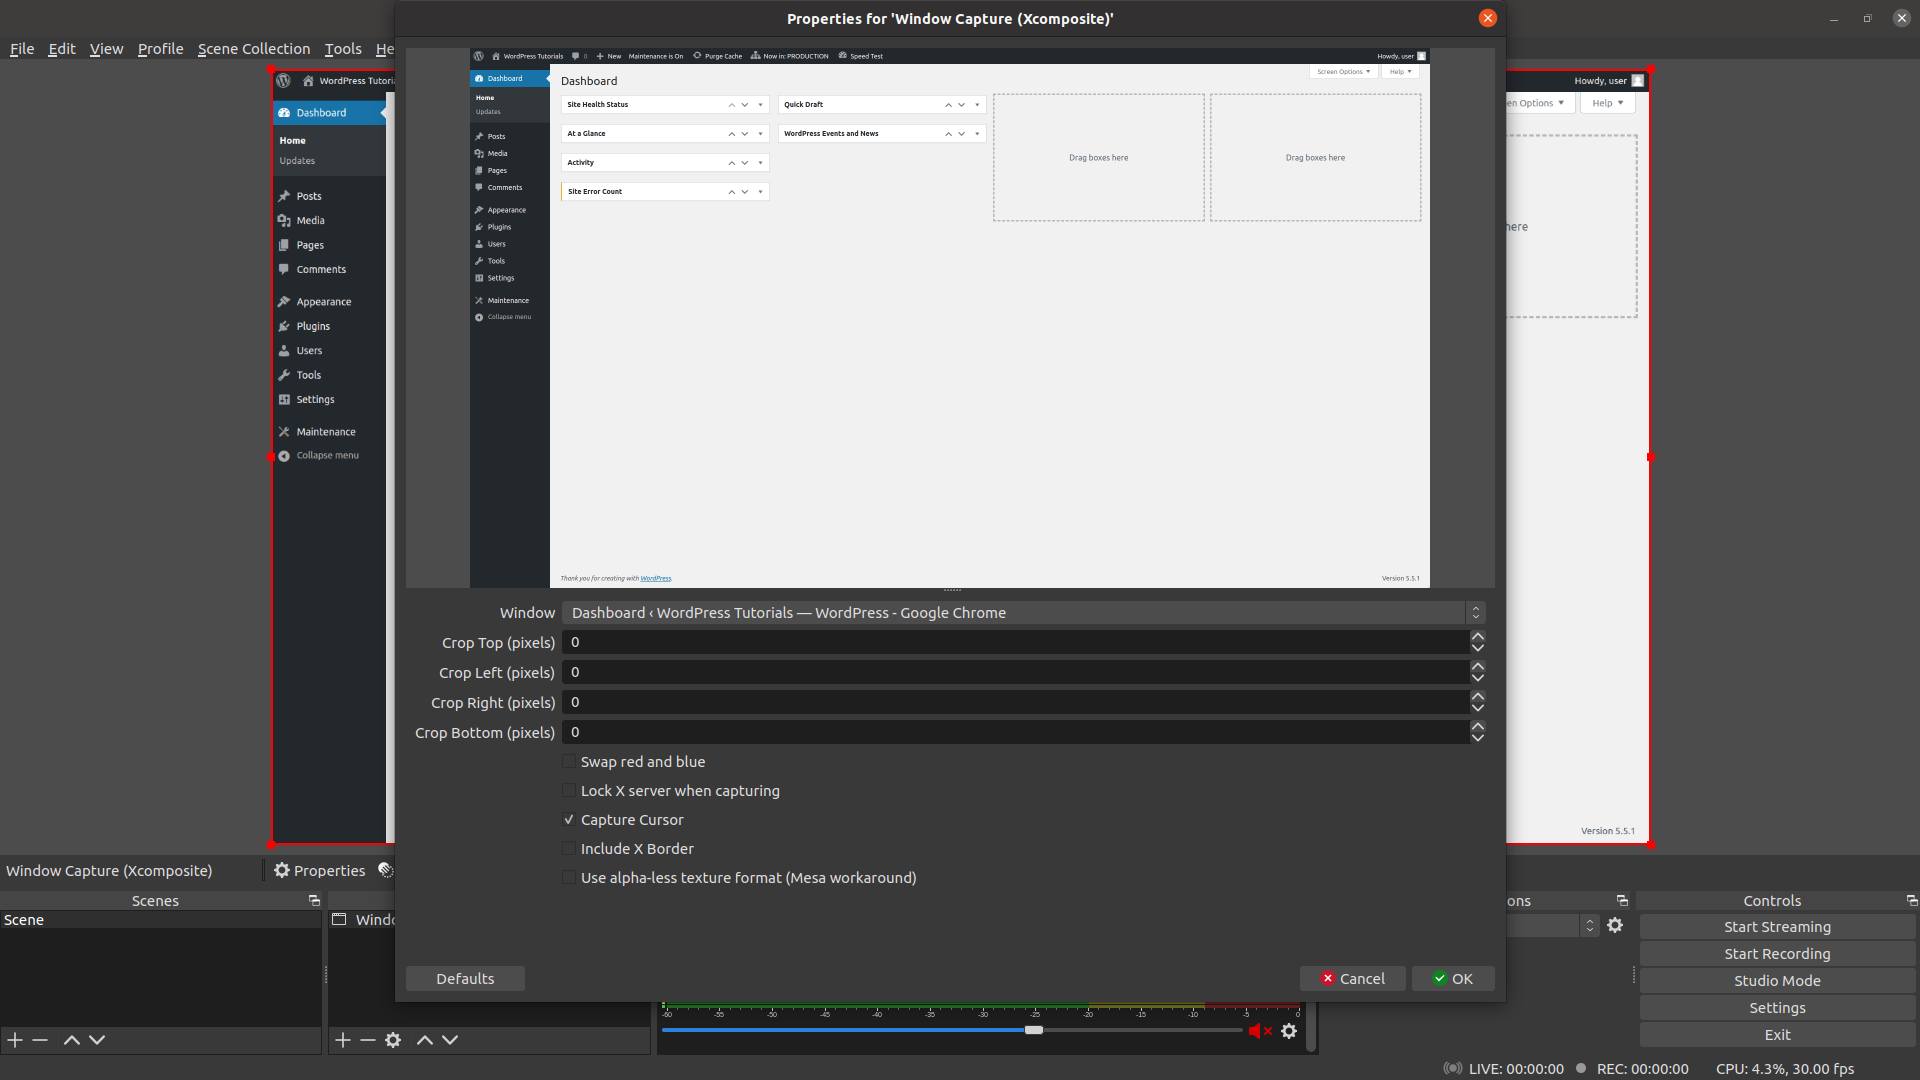
Capturing the mouse cursor helps viewers to understand where to click to go through a step in your tutorial video.
How to Capture the output from your webcam
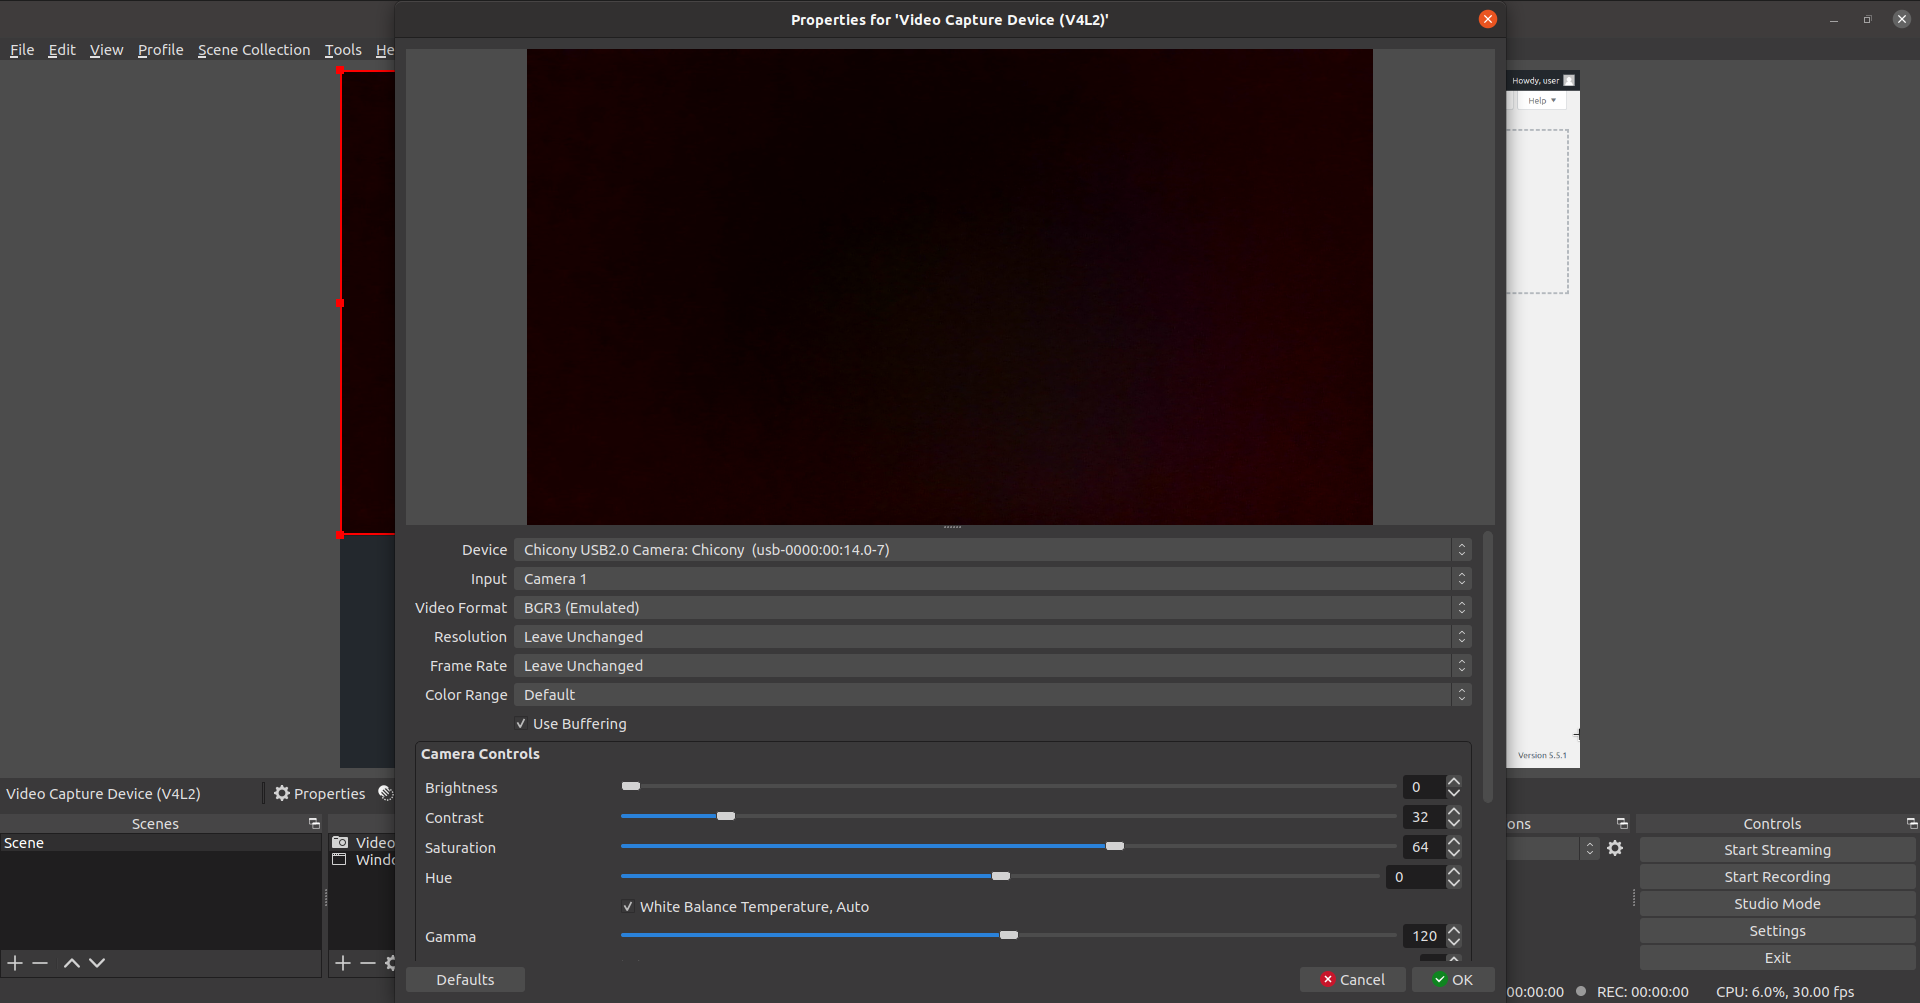
For the webcam capture we want to use Video Capture Device as a source. If your operating system can see your webcam, it will be listed in the Device dropdown menu.
In this menu, you can adjust your camera brightness, saturation and other such settings. Depending on your camera, you might also want to configure the resolution and frame rate settings.
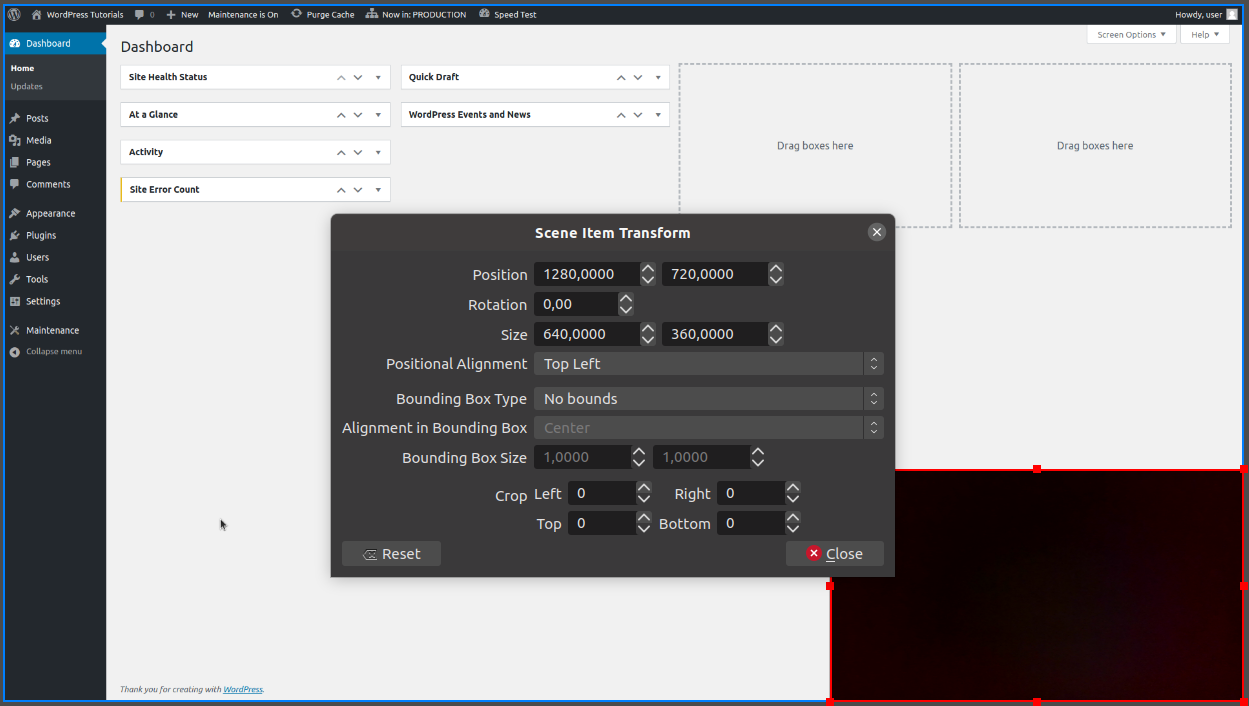
The size of your webcam stream on top of the window capture is by default using the webcam’s resolution. My canvas resolution is Full HD (1920×1080) and the webcam output is HD (1280×720), resulting in the webcam occupying a large portion of the canvas. With the webcam source active, press Ctrl+E to open the Transform window. Tinker with the settings until it fits your setup nicely. You can also position the source by dragging it around with your mouse and resize using the handles.
Capturing sound
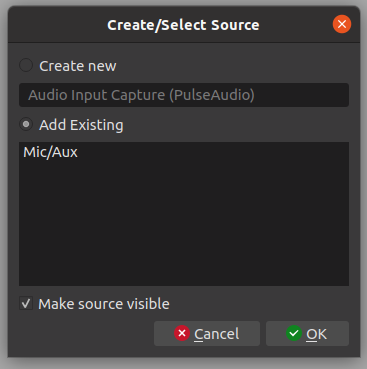
Finally, as the third source you can add an audio source, such as a microphone. Add Audio Input Capture as a source but don’t click OK yet. It is likely OBS already recognizes your system microphone, so there shouldn’t be any need to setup a new one. Select Add Existing and continue.
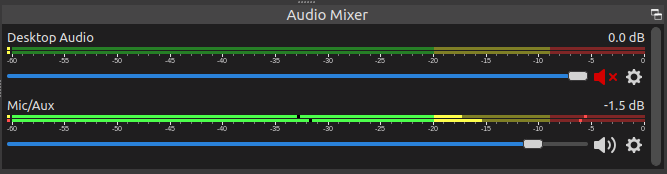
Make sure your input is not muted and make some noise. The level meter in the Audio Mixer should activate.
Check your settings before recording
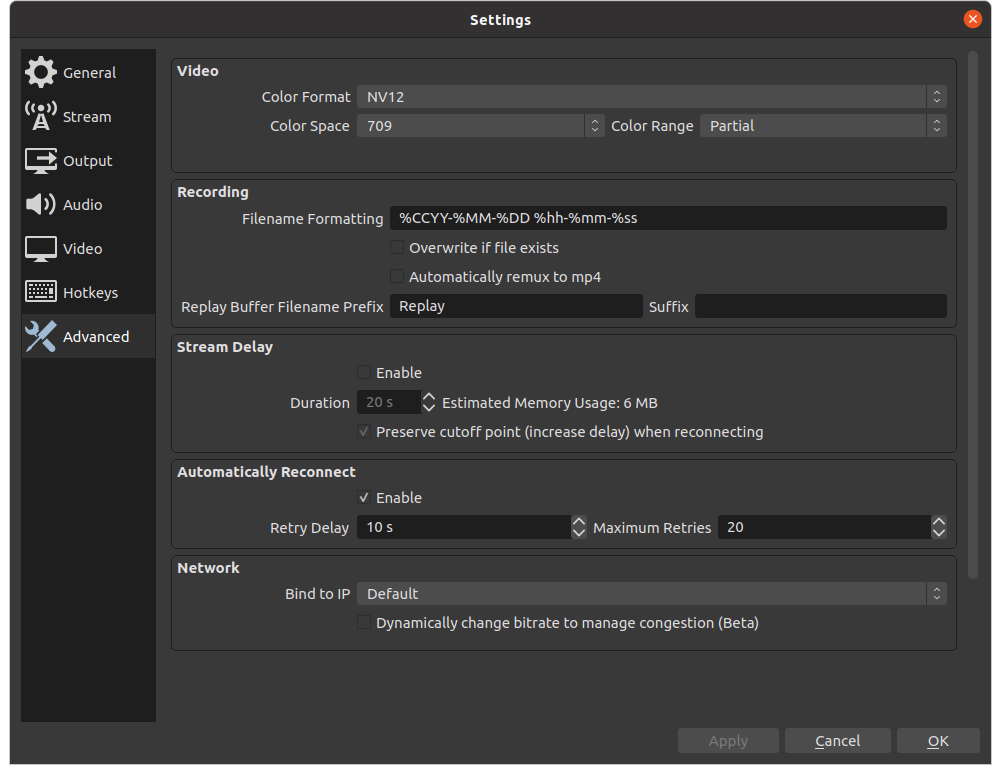
Before starting to record, let’s take a look at the settings. We want to know where our recorded video will be saved, in what format and what kind of quality.
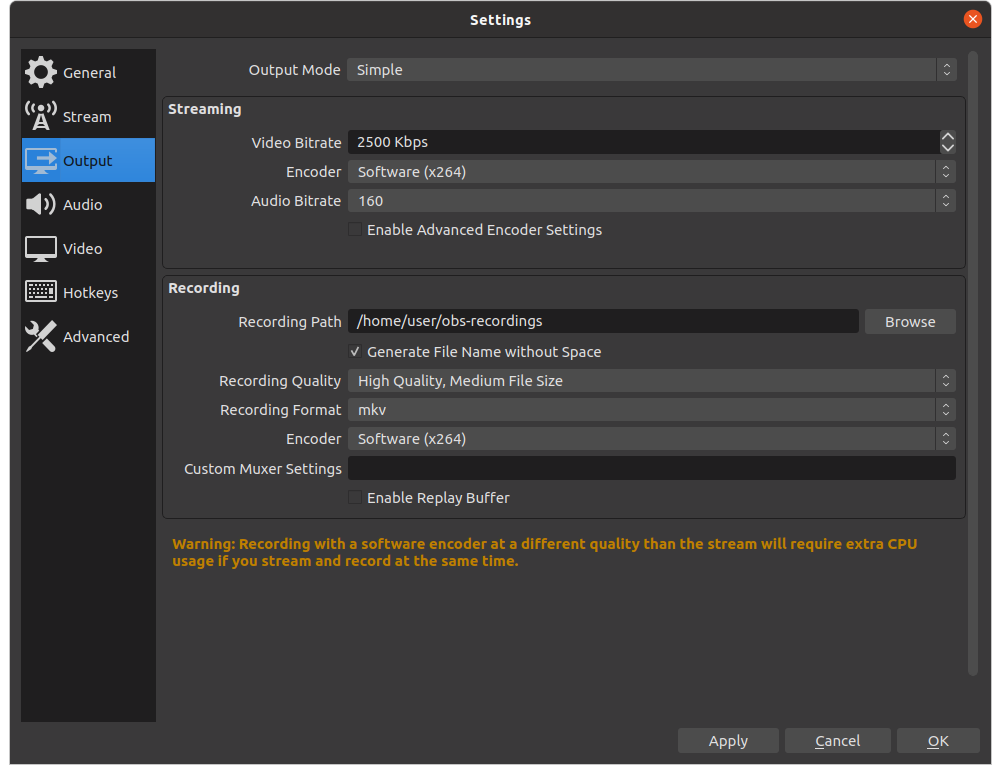
Recording settings can be found in the Output tab. By default the Recording Quality is “Same as stream”. I prefer the High Quality preset because its quality is enough for keeping text readable, while maintaining a filesize my relatively small hard disk can handle. You can remux recordings to another format later, so sticking with mkv is recommended because it allows you to pause recordings.
We are ready to hit Start Recording! Pay attention to the bottom right corner of the program. REC Icon will turn red and the timer starts. Also note that your CPU usage will go up as your computer is saving the file to your disk. If you chose the same settings I had, recordings can also be paused in this corner.

In the next OBS Studio guide we’ll get acquainted with Studio Mode, multiple scenes and how to work efficiently with these tools to live stream from your computer to the Internet.
Final tip: Save your settings in the Scene Collection menu and Export. Now you can tinker with the settings however you like and revert back when it’s time to record another tutorial video.
Hello, on Ubuntu 20.04.3 LTS all audio sources are “disabled” and there are no way of selecting one. I have read about this problem for Mac but not found anything for Linux. Mic texts fine in Nautilus sound settings